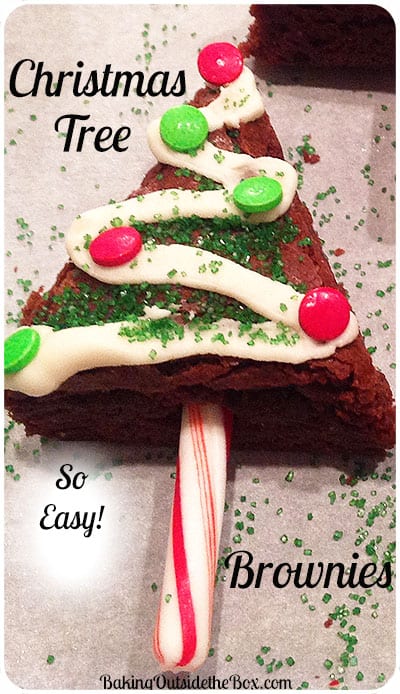
I had so much fun making these Christmas Tree Brownies. I love projects that are half food / half craft. I found the idea of whipping up these treats absolutely irresistible and the bonus for me is that they are faster and easier to complete than I imagined. I made them for a church activity.
I drooled over pictures I saw of them on Pinterest. I read several sets of directions and decided to make my own brownies using my Brownie Bliss Mix-up and the Favorite Fudgy Brownies recipe below. I am also certain that a mix from the store will work for this project too.
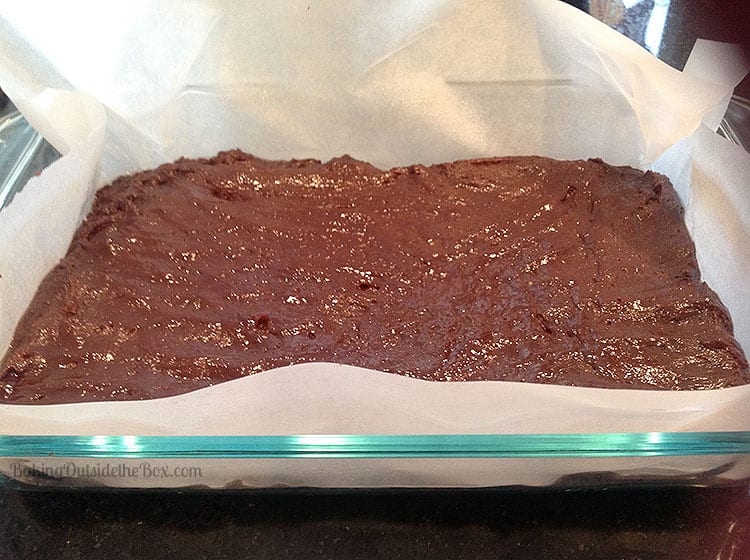
My Favorite Fudgy Brownies, have the texture of wet fudge when the spooned into the pan before baking. Here you can see that I lined the pan with baking parchment to make it super easy to get them out of the pan and then cutting them up easier.
After I got them out of the oven I ran to my computer to make a cutting diagram in photoshop –It was a total fail. Someday I will figure out what went wromg in the sizing, but for now it’s a mystery. 🙁
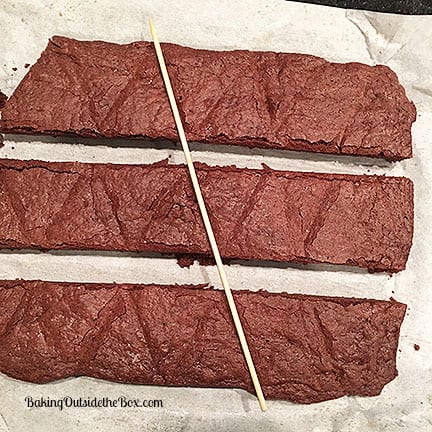
While the brownies cooled I desperately scanned google for help and found a ‘skewer method’ at ‘One Little Project’ that I thought was brilliant. I took it a step further and gently pressed the skewers into the brownie tops just enough so I had a guideline for cutting. It made it very easy.
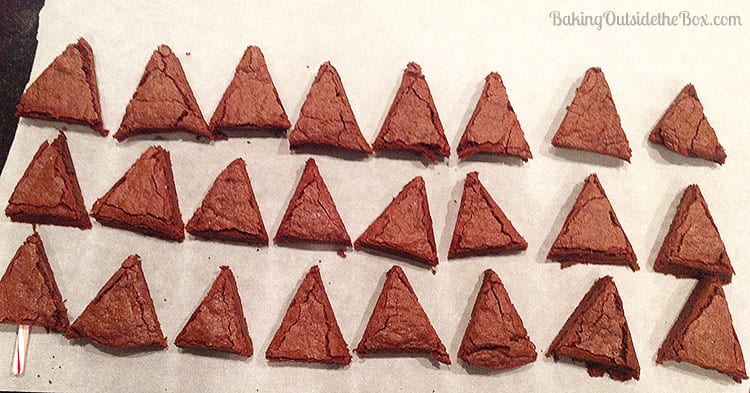
I cut the brownies length-wise into three rows. I got 8 triangles per row (Hint! 4 are point-up and 4 are point down.) The brownies turned out to be about 3″ across the bottom and almost 3″ tall. I had to re-cut the trees on the ends into a nicer shape just a smidge. I got 24 trees from the pan.
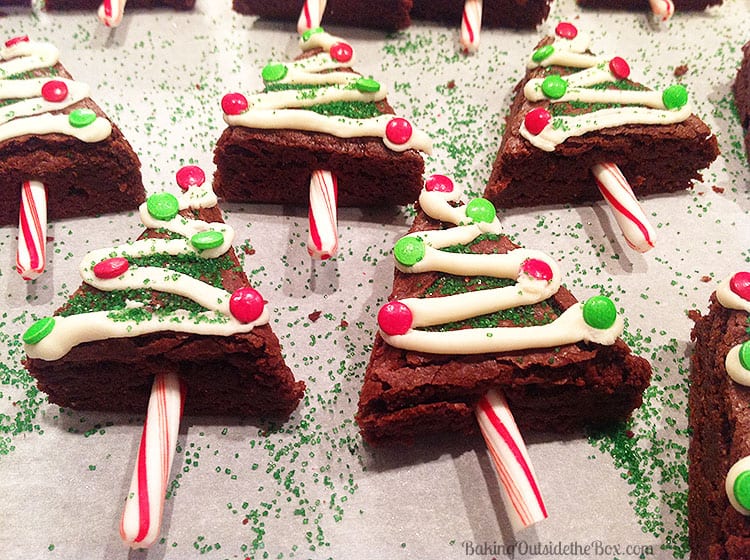
As soon as they cut into little triangles, start adding the peppermint stick trunks. This is done by breaking the top of a mini candy cane and pressing the straight part into the tree. You will need 24+ candy canes for this project because a few may break badly.
2 BIG TIPs that helped me: 1. I found the easiest way to get a clean break was to cut off the top of the candy cane with kitchen shears right through the wrapping. 2. To insert the peppermint stick through an outside (pan) edge, pierce the firm bottom edge with a sharp knife before inserting the candy.
After the canes were inserted I iced the tops with a zig-zag of vanilla buttercream frosting. I spooned frosting into a gallon ziplock bag and cut a very small bit off one of the corners and used it like a decorating bag without a tip.) You can add a little green food-coloring to the frosting if you wish. I just made a half batch of buttercream frosting and I had some left-over. It didn’t take much. I’m certain it would not take a whole can of frosting, if you went that route.
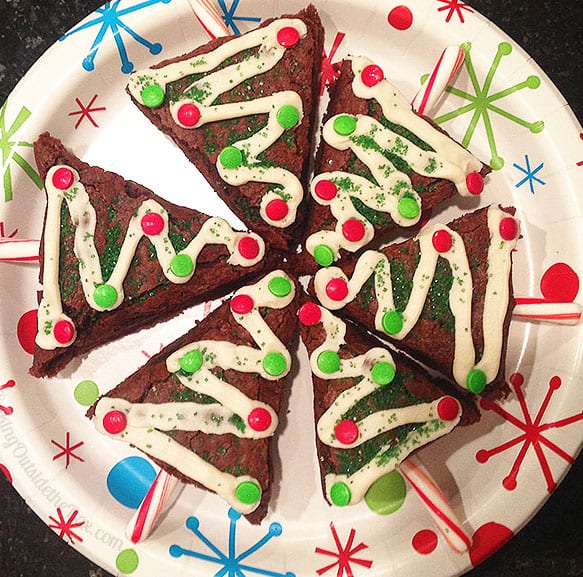
I decorated them with green sprinkles and some little green and red dots. Of course, you can decorate your however you wish.
The girls in my church group loved these! They were so easy. I hope you will make some too. Enjoy! — Laura
P.S. OH! If you want to know 3 great secrets for fudgy brownies, read this article.
Favorite Fudgy Brownies
Ingredients
- 4½ cups Brownie Bliss Mix-up*
- ½ cup butter softened
- ½ cup canola oil
- 4 eggs
- 1 T vanilla
- 24 3″-4″ peppermint sticks opt
- 2 cups white buttercream frosting opt
- decorative sprinkles and small candies opt
Instructions
- Preheat the oven to 350 degrees.
- Line a 9″ x 13″ baking pan with baking parchment or foil and spray with cooking spray.
- Put Brownie Bliss Mix-up, butter, oil, eggs and vanilla in a mixing bowl and mix all ingredients until just mixed, about 30 seconds. (Do not over-mix.) Batter will be about the consistency of wet fudge.
- Pour batter into prepared baking pan and smooth batter with back of spoon to distribute evenly.
- Bake for 24-28 minutes.
- Allow to cool 20 minutes before removing the brownies from pan.
- Frost, if desired and cut into 24 brownies.
Notes
Thanks to:
